Fire Your Video Editor: A HyperFrames Walkthrough for Creators Who Don't Code
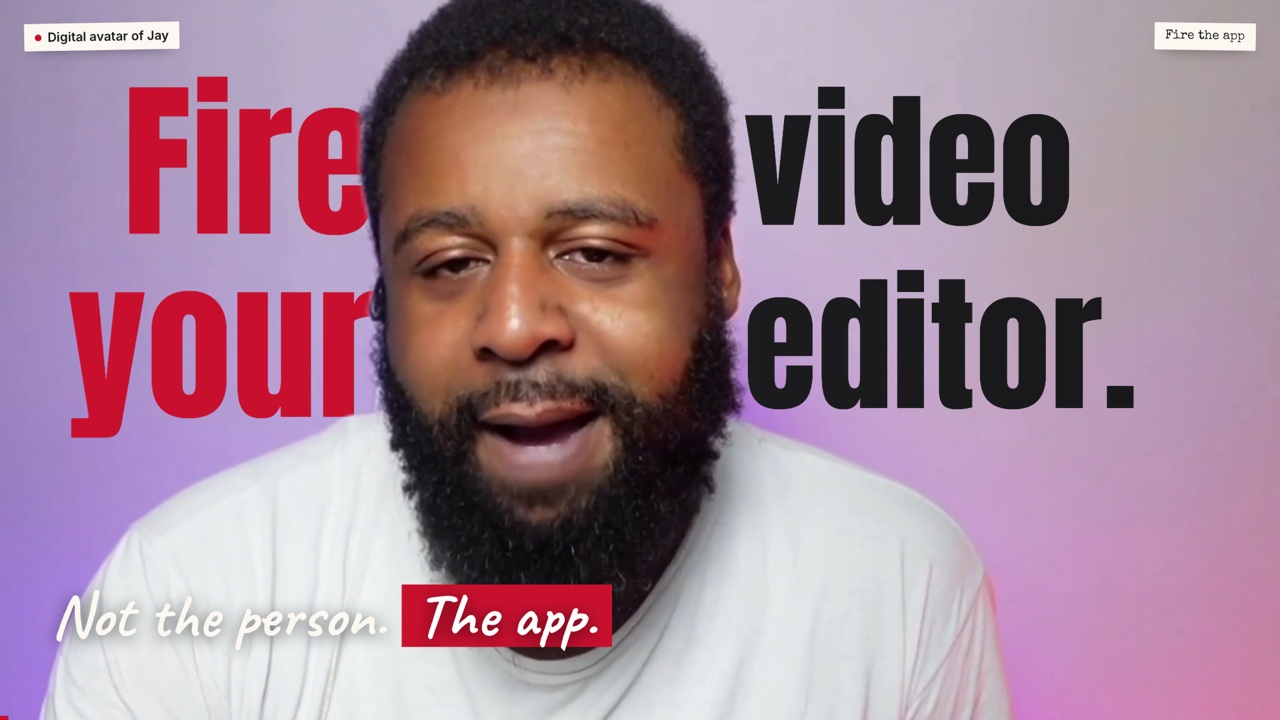
📺 This is the companion guide to the video Fire Your Video Editor. Every command below is one I actually run.
I don't have a computer science degree. I'm a creator who builds things with AI. Lately, most of my editing doesn't happen in an editing app at all. It happens in a command line tool called HyperFrames, with an AI agent writing the edit for me.
This guide walks through exactly how, step by step, including the parts that went wrong.
First, a disclosure
The presenter in the video is my digital avatar, built with HeyGen, not me on camera. HyperFrames is also made by HeyGen, so weigh my enthusiasm with that in mind. The workflow, results and opinions are mine.
What HyperFrames is, in one paragraph
HyperFrames is an open source tool from HeyGen. Its tagline is "Write HTML. Render video. Built for agents." The idea: a video is a web page that changes over time. Text, images, video clips and animation go into an HTML file, and HyperFrames opens that page in a browser, steps through it frame by frame, and writes an MP4. Same page in, same video out.
That matters for non-coders because you don't write the page. Your agent does. Claude Code, Codex, Cursor and Gemini CLI are all good at HTML already, and your editing app doesn't understand plain English. Your agent does.
As of September 14, 2026, the GitHub repo has just over 50,000 stars and 4,500 forks, it's Apache 2.0 licensed, and the CLI is at v0.8.40. It moves fast, so check the README before you follow any guide, including this one.
Before you start
You need three things:
- An AI coding agent. I use Claude Code. Codex, Cursor and Gemini CLI work too.
- Node.js 22 or newer.
- FFmpeg.
If you've never installed Node or FFmpeg, ask your agent to do it and to explain each step. Then teach your agent HyperFrames with one line:
npx skills add heygen-com/hyperframes
That installs the skills that teach your agent how to plan, build, check and render a video. In Claude Code, /hyperframes is the front door: describe what you want and it picks the right workflow. To confirm your machine is ready, run:
npx hyperframes doctor
The walkthrough: your first real edit
You won't type most of these commands yourself. Your agent runs them. Knowing what each one does is what lets you steer.
Step 1. Start a project with init
npx hyperframes init my-video
You get a folder with an index.html (the video), a hyperframes.json, and agent instructions (CLAUDE.md, AGENTS.md). Put your raw talking-head video in that folder.
Step 2. Get every word with a timestamp: transcribe
npx hyperframes transcribe my-video.mp4
npx hyperframes transcribe transcript.json --to srt -o captions.srt
This is the secret behind the whole workflow. Once the agent knows the exact second you say a word, it can land a graphic on that word. On an 8 minute 32 second video, it transcribed about 1,400 words in about 20 seconds on my Mac.
Fix the names before you use it. Whisper hears brand names badly. In the latest video it wrote "Heijin" for HeyGen, "Cloud Code" for Claude Code, and turned "Init." into "in it." Ask your agent to search the transcript for every product and person you mention.
Step 3. Describe the edit
This is the part that replaces the timeline. For a talking-head video, the /talking-head-recut workflow adds designed overlays synced to your transcript. A first prompt I'd actually use:
/hyperframes Recut my-video.mp4 as a 16:9 talking-head video.
- Captions from the transcript (fix these names: [your names]).
- A title card for each section: [list sections and the phrase that starts each].
- A new camera framing (a crop or punch-in) at least every 5 seconds.
- A card on screen whenever I say a number, a tool name, or a command.
- Keep all text off my face.
Be specific about when things happen (anchor them to phrases you say) and what is never allowed (text on your face, cards that sit empty). That's the whole skill: describing what you want clearly, and knowing good when you see it.
Step 4. Look at it: preview
npx hyperframes preview
This opens HyperFrames Studio in your browser with a timeline you can scrub. You're reviewing, not dragging clips. When something is off, tell your agent in plain English: "the stat card at 2:14 covers my face, move it right."
Step 5. Let it check its own work: lint, check, snapshot
npx hyperframes lint
npx hyperframes check
npx hyperframes snapshot --at 12.5,48,95
lint catches structural mistakes. check loads the video in a browser and flags missing files, text running off screen, overlapping text blocks and poor contrast. snapshot saves still frames so your agent can literally look at the result.
On this video, check caught eight overlapping text blocks, mostly rubber stamps sitting on top of words. Six got moved. The other two were the opening title, which is meant to sit behind me, so I checked those frames by eye and marked them as intentional. It ended with 33 of 33 text checks passing contrast.
Step 6. Render
npx hyperframes render --quality draft --output draft.mp4
npx hyperframes render --quality high --output final.mp4
Use draft while you iterate and high for the upload. Renders take real time: a 10 to 12 minute video with a lot of graphics takes me about 15 to 20 minutes on an external drive.
Beyond editing
The same toolbox covers jobs that usually need separate apps.
| Command | What it does | Good for |
|---|---|---|
remove-background |
Cuts a person out of a photo or video on your own machine | Thumbnails, and titles that sit behind you |
tts |
Makes a voiceover with a small local model (Kokoro-82M) | Scratch voiceovers while you draft |
capture |
Captures a website so it can be animated | Product and website videos |
catalog / add |
Searches and installs ready-made animations | Lower thirds, terminals, notifications, headline slams |
render --batch |
Renders one template many times from a list | Same design, different names or numbers |
cloud render, lambda, cloudrun |
Renders somewhere other than your laptop | When your machine isn't enough |
Two real numbers: remove-background cut me out of 110 frames of video in 19.4 seconds, and 276 frames in 46 seconds, both on Apple's CoreML.
What I learned the hard way
Don't push a very long video through in one pass. My other channel, JayyRedd Unfiltered, is live reaction videos straight off a stream. One 42 minute recording became a 35 minute edit with 55 graphics. The first render tried to process all 35 minutes of full video at once. It ran for seven minutes and failed, because it extracts every frame (64,530 of them) first. The fix: render only the graphics, each as its own short clip with a transparent background (render --format mov gives you ProRes 4444 with alpha), then lay them over the video in one FFmpeg pass.
Keep the edit as data. In those reaction edits, every cut lives in one cuts.json file, and graphics are placed by the moment in the original recording. Change a cut, rebuild, and every graphic moves with it.
Check for empty cards. On the previous video, cards entered on their title and then sat nearly blank for seconds before the content arrived. Snapshot about a second after each card appears, not just at its midpoint.
Re-transcribe the finished video and read it against your script. On this video, that pass caught my avatar saying "FF Mezzo" instead of FFmpeg, twice, because I'd spelled it out as "F F mpeg" for the voice. Plain "FFmpeg" came out right in a quick audio test, so two short inserts were spliced in before upload.
Don't cut on transcript timestamps. Whisper's word times can drift a few tenths of a second. If you splice audio, cut in the middle of a silence instead, or you'll clip a word.
Know your disk. capture saved its screenshots fine but failed at the final step on my external drive, because that drive doesn't support the file links it creates. If it fails for you, run it on your internal disk.
How this video was made
The avatar footage came from HeyGen. Everything on top of it was built with HyperFrames, directed by an agent:
- 50 cards, all HTML, each timed to a phrase in the transcript
- 166 camera cuts (crops and punch-ins), none longer than 5 seconds
- 9,535 lines in the final
index.html, and the video counts that number on screen - the opening title sits behind me thanks to a real
remove-backgroundcutout - the transparency checkerboard is another real cutout, shown when the video talks about the command
- the Roundtable website shots come from
capture, the Studio screenshot frompreview, and the frame grid fromsnapshot - the "checks its own work" section uses the real before and after frames from the previous video
No timeline was opened.
Who should keep their editing app
- If you can't yet tell a good edit from a bad one. The tool doesn't know your story and will happily make a bad edit, very fast.
- If you love your editor and your pace is fine. Keep going.
HyperFrames is for people whose editing is the bottleneck: the folder of raw videos you never had time to finish.
Start this week
- Install Node and FFmpeg.
- Run
npx skills add heygen-com/hyperframes. - Give your agent one real video and ask for three things: captions, a title card, and a new camera framing every five seconds.
Start small, watch what it makes, and tell it what to change in plain English.
Want help with the describing part? That's what the AI Creators Roundtable is for: learning to build your own digital avatar the right way, making websites that don't look like AI slop, and getting honest feedback from creators who are building the same way. If you're putting together your first creator stack, the 10 free GitHub repos guide is a good next read.